How are Security Bars Installed? Drill Pilot Holes
Wondering how security bars are installed? Look no further! This comprehensive guide provides a detailed step-by-step process and expert insights on securing your property effectively.
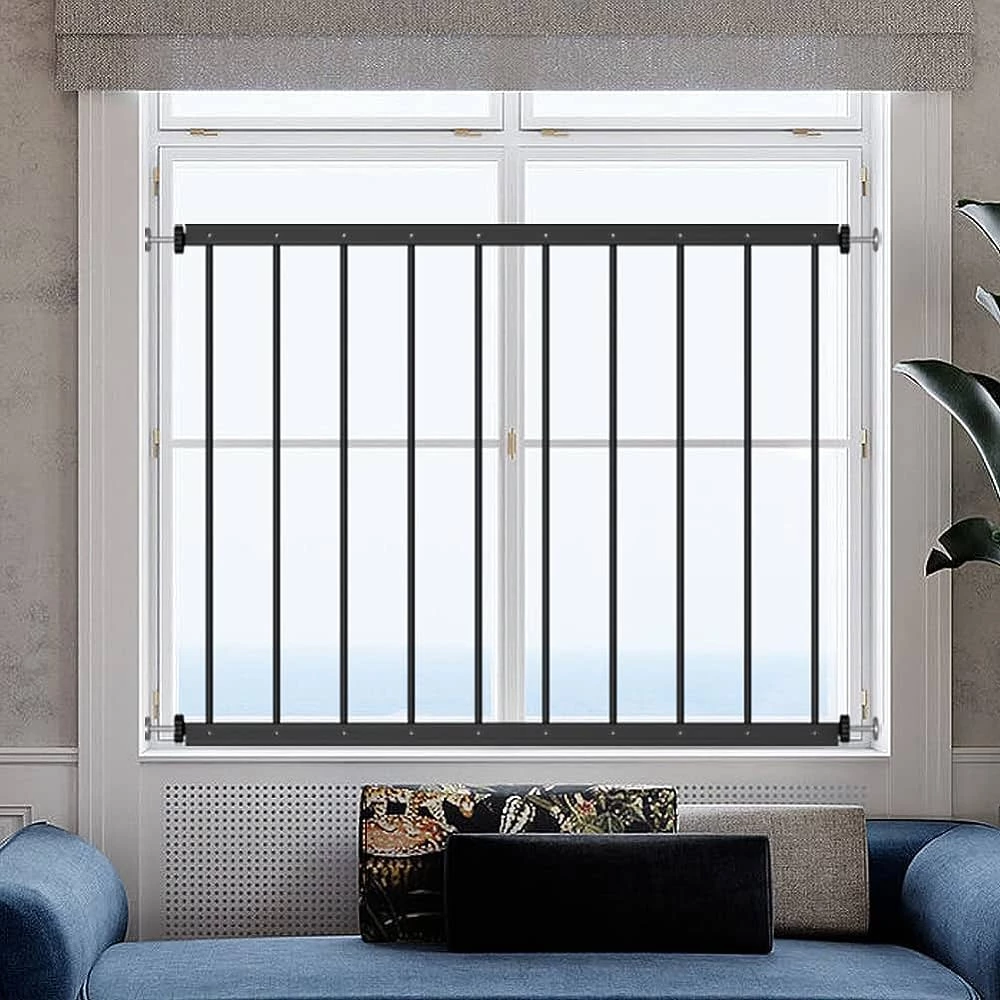
How are Security Bars Installed?
Security bars play a crucial role in enhancing the safety and security of our homes and businesses. They act as a robust deterrent against unauthorized entry, burglaries, and provide peace of mind.
But how exactly are security bars installed to ensure optimal protection without compromising aesthetics?
In this comprehensive guide, we will delve into the step-by-step process of installing security bars, from planning and measurements to the final installation.
Planning Your Security Bar Installation
Before embarking on the installation process, meticulous planning is essential. Here’s how to get started:
1. Assess Your Needs
Begin by evaluating your security needs. Identify vulnerable areas such as windows, doors, or other potential entry points. Prioritize areas that require immediate attention.
2. Measure Precisely
Accurate measurements are paramount to ensure a snug fit. Measure the dimensions of the openings where you intend to install the security bars. Take both vertical and horizontal measurements.
3. Choose the Right Materials
Select suitable materials for your security bars. Common options include steel, iron, or aluminum. Consider factors like durability and aesthetics when making your choice.
Installing Security Bars – Step by Step
Now that you’ve completed the planning stage, let’s move on to the installation process:
1. Gather Your Tools
To begin the installation, gather the necessary tools and materials. You’ll typically need a drill, screws, anchors, a level, and safety gear such as gloves and safety glasses.
2. Mark Your Installation Points
Using a pencil or chalk, mark the exact spots where you’ll install the security bars. Ensure the marks are level and evenly spaced to achieve a balanced appearance.
3. Drill Pilot Holes
Before attaching the bars, drill pilot holes into the marked points. This will prevent the material from splitting or cracking during installation.
4. Attach the Brackets
Secure the brackets or mounting hardware in place using the drilled pilot holes. Make sure they are level and firmly anchored to provide stable support for the bars.
5. Install the Bars
Carefully position the security bars onto the brackets. Ensure they align with the markings you made earlier. Use screws to attach the bars securely to the brackets.
6. Check for Proper Fit
After securing the bars, double-check that they fit snugly within the window or door frame. Adjust if necessary to ensure there are no gaps or loose fittings.
7. Add Finishing Touches
Depending on your preference, you can add decorative elements or paint the security bars to match your home’s aesthetics. This step helps maintain both security and curb appeal.
Conclusion
Installing security bars is an effective way to bolster the safety of your property.
By following these steps meticulously, you can ensure a seamless installation process that not only provides security but also enhances the overall look of your home or business.
READ ALSO!!!